
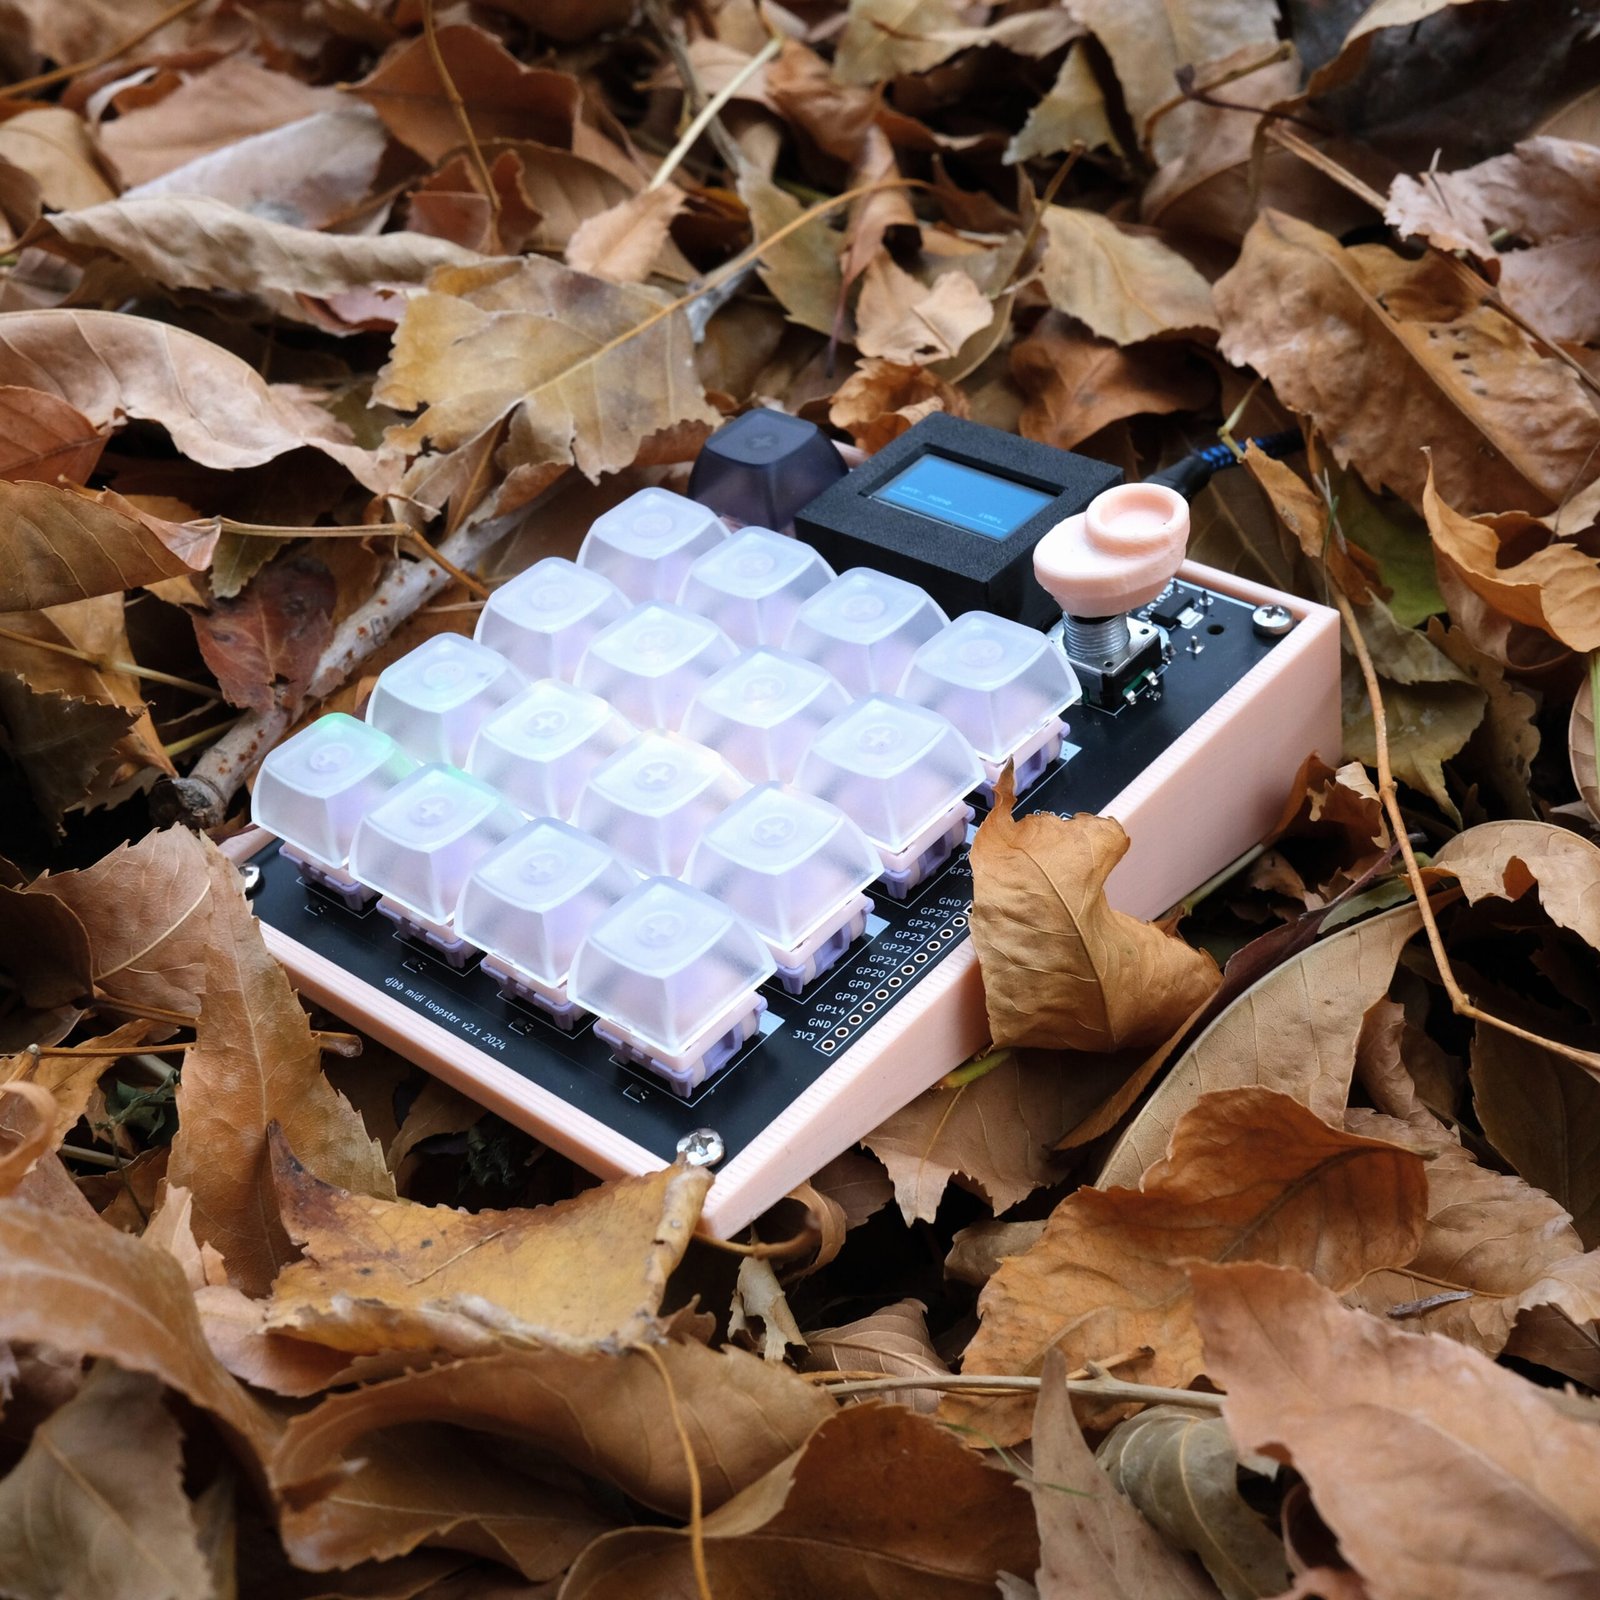
How to Update:
- Put your Loopster in Boot Mode by holding the small button on the PCB to the bottom right of the screen and then plugging it in. It should show up in Finder / Explorer as RPI-RP2.
- Go to the web config utility webpage
- Click check for updates -> Choose RPI-RP2 Drive.
Or see the video below.
Features
- Snappier UI
- New web utility for managing / changing presets
- Download and upload midi files from/to pads
- Easier firmware updates
- Much faster loading / saving times for presets
Technical
- Switch to C++ opened up the use of the 2nd RP2040 core which CircuitPython could not use as of 2026. This core can now handle the display updates / non timing critical things without blocking the MIDI path. No more small hiccups when changing menus while a loop is playing.
- Tighter timings for midi sync / playback. Partially due to offloading display tasks to the 2nd core.
- WebSerial enhancements – user can now enter boot mode without having to unplug, hold the button, and plug back in. Can do it straight from the web interface.
- No more flash streaming business – this was a workaround to deal with relatively low remaining RAM while still allowing large CC loops. With the reclaimed RAM overhead with switching to C++, this is no longer needed
- Smarter file saving. No longer corrupts everything if power is lost while saving presets or loading. Also changed how data is saved – in one large chunk now – instead of a bunch of individual writes to the .json preset file. This takes loading / saving from a few seconds to ~200ms or so.
- More safeguards for if things go wrong – reset the device when detected instead of staying frozen until power is cycled.
- Simpler firmware updates – now the entire thing is one .UF2 file instead of a custom .UF2 + dragging over other source files.
- Lots of CPU overhead for future enhancements, though the RAM limitations are still a problem.
Other Notes
This is something I’ve been pondering for quite a while and it finally occurred to me that this is precisely the sort of task to test out on a frontier AI model. I don’t like using AI for anything creative – designing features, writing text, creating guides, generating images, etc. But this was literally a 1:1 conversion of CircuitPython -> C++ code. I have some C++ experience, mostly due to messing with the Teensy, but not enough that this would be a simple task for me. I would have figured it out eventually, but for an un-creative and time consuming task like this…. work smarter not harder, yeah?
The first step was to estimate the CPU and RAM overhead that I would gain with this switch – is it worth it? Per my research it should gain me ~10-20x in CPU speed, and ~5x on RAM. Well worth it.
The next step was to have an AI tool (Claude Fable in this case) document the entire python project structure and note all libraries in use that will need replacement. For example the SSD1306 display library.
I then had it spin up a test .UF2 file. This firmware existed just to test that the new C++ replacement libraries actually worked. It would show something on the screen, light up pixels, etc. No point in going whole-hog if I can’t even get the basic things to work. But surprisingly, it worked first try.
Once I knew I could control the screen and pixels, and read the button inputs, I knew this was going to be possible. I basically just set Claude Fable loose and had it 1:1 convert every python file to their equivalent C++ files.
The final step was to update the code to un-optimize things that no longer needed the optimization (and tradeoffs associated). For example, we can now re-draw the whole screen whenever we want since there is a whole dedicated CPU core. I then did a few audits to remove unused variables, and add some extra crash-prevention checks, etc.